Assembly of the dryer
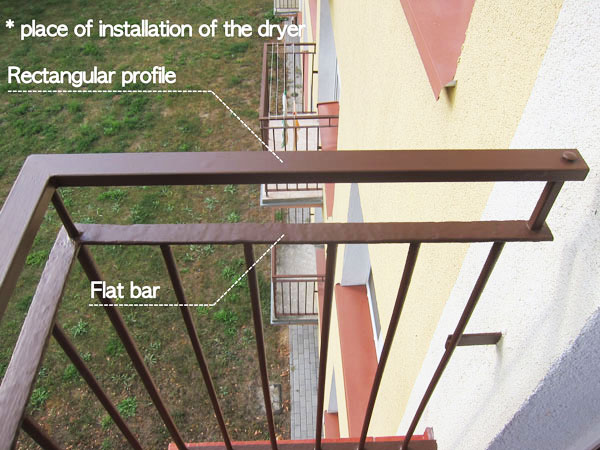
Laundry dryer can be installed on practically any balcony on which the balcony railing has a flat bar or rectangular/squaread profile of specified dimensions.
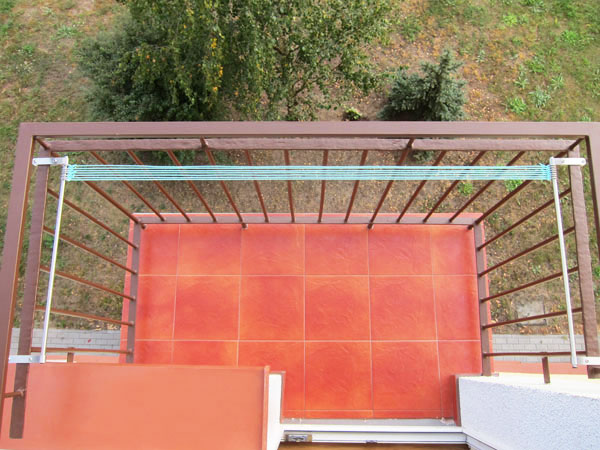
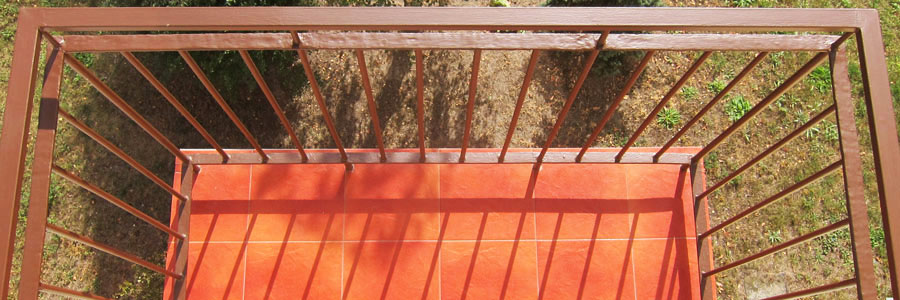
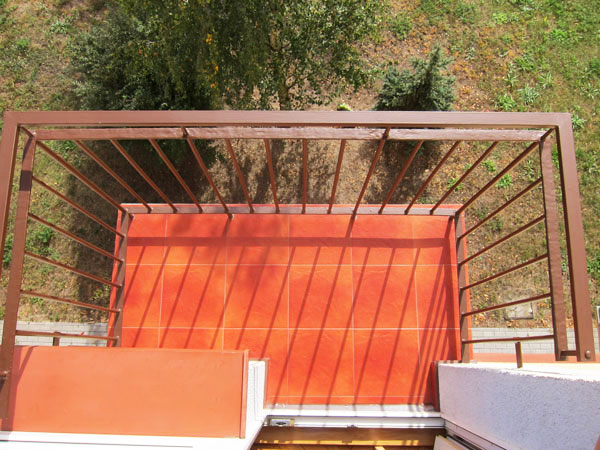
The dryer is perfect for balconies in a block of flats whose width does not exceed 2 meters - distance measured from left to right handrail of the balcony.
If the dryer is mounted on wider balconies, e. g. 3 - 4 meters, the laundry lines are much longer, so the weight of the laundry per line is greater. Such a load will affect the comfort of using the dryer and may cause deformation of the material.
In this case, it is recommended to spread the laundry over a larger number of lines, so as not to overload the dryer and lines.
ASSEMBLY
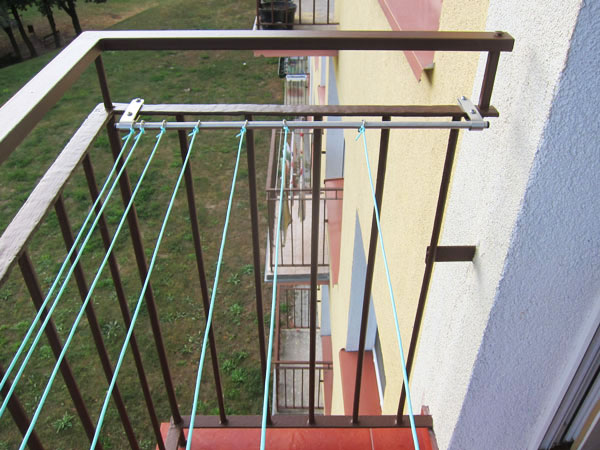
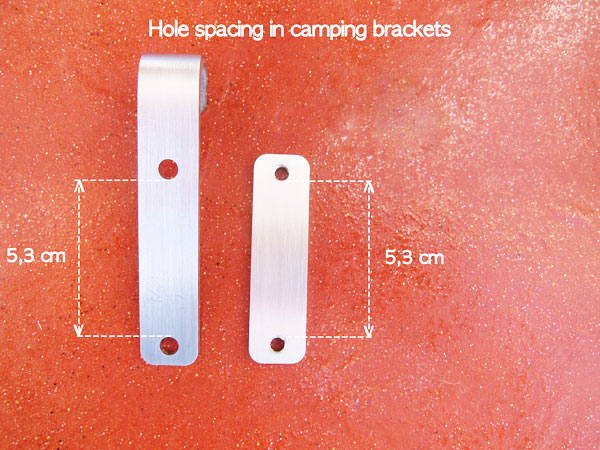
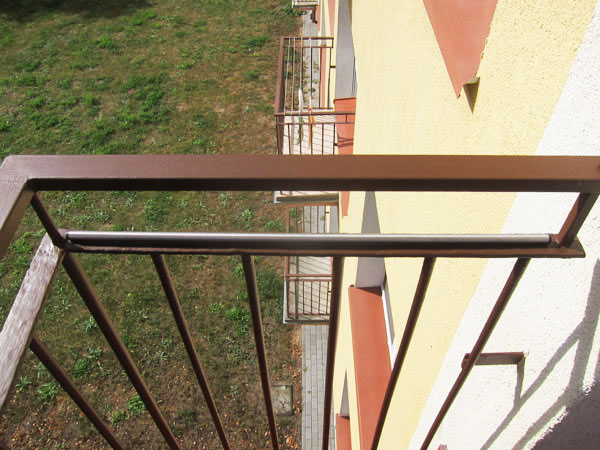
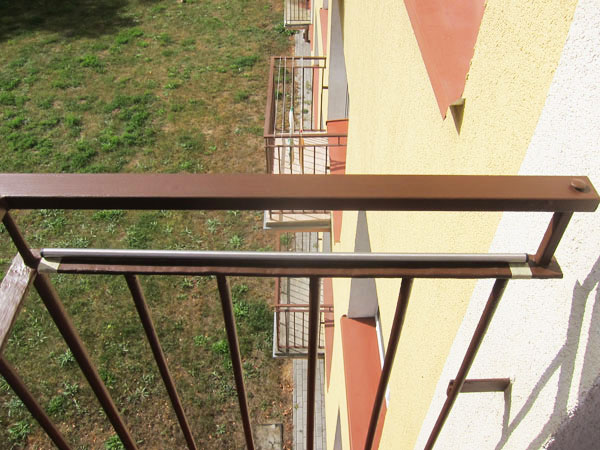
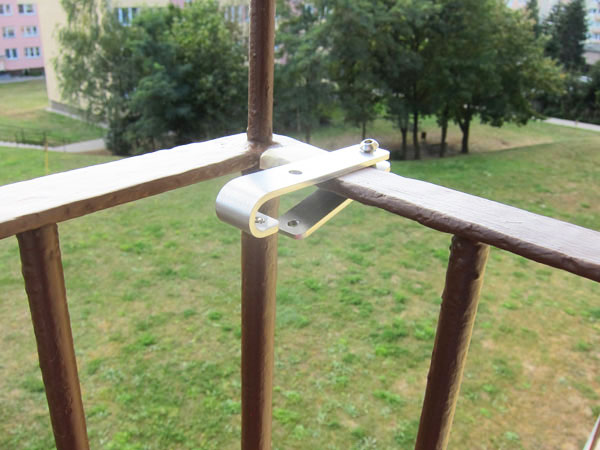
The dryer is mounted on the balcony railing by screwing 4 fixing brackets to a flat bar or rectangular/squaread profile. If there are such elements on the balustrade and their width is from 3,5cm to 5cm, the dryer can be mounted.
The set of screws and nuts needed to mount the dryer on a flat bar of up to 0,7cm thickness is included with the dryer. If the thickness of the elements to which the fixing brackets will be screwed is greater, it will be necessary to use longer stainless steel screws, which are not included in the set.
To mount the dryer you will need 4mm and 3mm Allen wrenches and size 10 flat wrenche. Tools aren't included in the dryer.
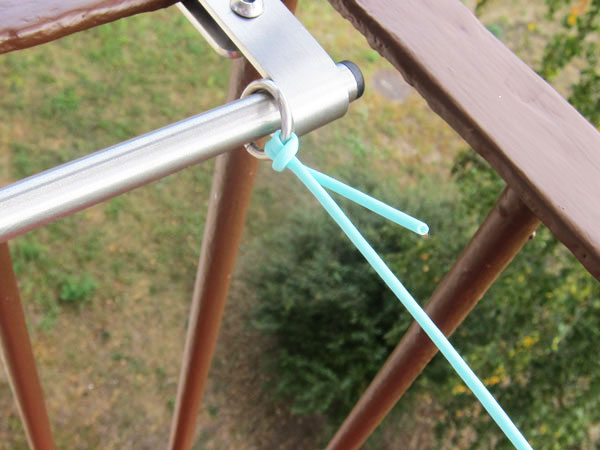
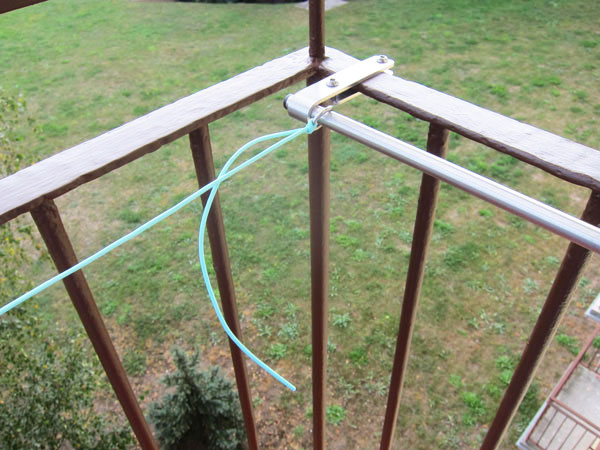
Below are pictures showing step-by-step installation of the dryer.
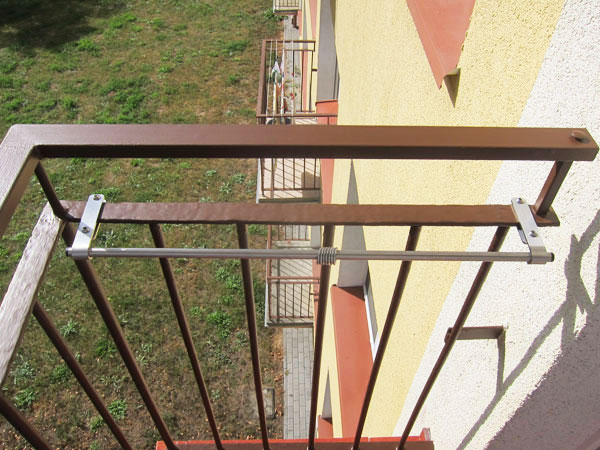
and lock it by tightening the clamping screws.